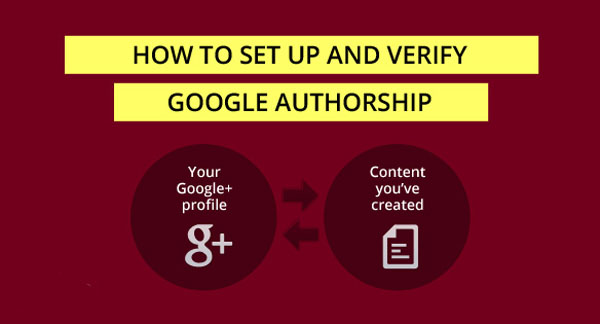
How to get Google Authorship on your Blog

A latest feature introduced by Google creating much hype over the internet among young bloggers is the introduction of Google authorship verification method. Now this feature is pretty awesome in the term that you get to be famous over the internet via your blog etc; it is like gaining an identity with the skill you possess.
This eventually results in gaining more and more expert and famous in the field of your liking. Basically what this feature does is that it provides your basic info with your featured content when searched on Google.
Get verified Google Authorship for your blog
For a blooger, when one of their articles is searched, by using this, with verified Google Authorship your name mentioned along with the article searched. For those of you who are interested this article will provide you with simple and easy steps on how to get Google’s verified authorship.
Step. 1
Under the edit user screen (to your profile, in case of multi-author blog) in your WordPress dashboard search for option box asking Google + profile link. In this option box add your Google + profile link. Once this is done, you can verify by looking for the individual post or page and searching for the highlighted code. Continue to step 2.
Step 2 :
After completing with step 1 go on to your Google + profile page and edit the “Contributor To” section. In the appearing dialog, press “Add custom link”, afterwards enter the URL of the currently updated websites of yours. This step ensures that when searched on Google about any of the articles relating to a website mentioned in the ‘contributor to’ list, your name appears with the specified details of the article.
Step 3 :
Third and the most important part is to go to Google Authorship link. Here you have two choice.
- Use your domain verified email address : Like i have a domain ismag.com so if you want Google to verify your authorship quickly then make an email address like anas@ismag.com and then submit in to the section mentioned in the above link. You will get a verification email, check your email and click on activation link.
- Second way is to use your already created Gmail address that linked up with your g+ profile but Google takes much more days if you use this method.
Step 4 :
Open your WordPress theme panel and find header.php and find <head> section. Now paste this code after it
<link rel=”author” href=”YOUR G+ PROFILE LINK” />
Make sure you can replace YOUR G+ PROFILE LINK with your g+ profile.
Step 5 :
All done. Now use this Rich Snippet Tool to check is Google Authorship is working fine or not. With all this done your work has finally finished, rest is on Google. Wait for Google to re-manage your profile and the editing, it may take a day or two. However, if you are more curious to really ensure whether your work will bring about the fruit you want, you are warmly welcomed by Google to use Data Testing Tool provided by them for your satisfaction.
Features like this are mostly helpful for individual bloggers. Multi-author blogs need much of the management regarding the authorship. For this, additional Google + profile links can be added.
Hope the article provided you with clear details of how to claim your verified Google Authorship.
Also Read : Google Plus Introduces ads on Pages